Tagfimo

Blogtoberfest 2012 – Day 1/Make 1: Fimo fun – a WoW hearthstone

I’ve not been blogging enough recently, for various, uninteresting reasons so inspired by Lynsey of Swirly Arts, I’ve decided to throw myself back into the blogging deep end and take part in Blogtoberfest 2012 to try to remedy my “not blogging” problem – posting every day in October, one way or another, on one site or another (preferably more than one!).

Some of the posts will probably be short/picture heavy but I am going to try to include a lot of “makes” in the month, because I’ve not been making stuff enough lately and I’m missing it. Most of them will probably end up on The Really Good Life or How Can I Recycle This? but as this is neither “good life”y or recycled, I thought it wasn’t really appropriate for those sites. It is though, fittingly, a little swirly ;)

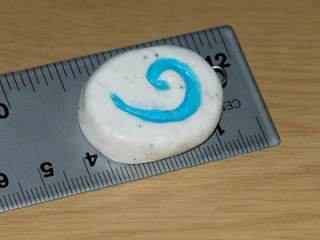
It’s a World of Warcraft “hearthstone” – a little thing you click in the game every time you want to return to your in-game home. I’ve been meaning to make a “real” one to go on my (house keys) keyring for a while but didn’t get around to it until today. The bits are meant to be there – it’s Fimo “Effect” which is supposed to look a bit like stone/marble. It needs to go in the oven to bake hard, but it can wait until we’ve heated up the oven for something else.

It’s very small and very geeky but it’s a start!

Making buttons from Fimo

fimo buttons(Second button related post in a row, heh.)

I bought a new-to-me cord jacket at a charity shop in Portobello while visiting Edinburgh recently* and it had big feature buttons on it.

I very much liked the idea of feature buttons but unfortunately I didn’t like the actual buttons used. A trip to my usual haberdashery in Leeds revealed it would cost about £18 to replace them with my favourite big buttons from there – because it’s double breasted and so needs a billion of the buggers – so I thought I’d try making some myself.

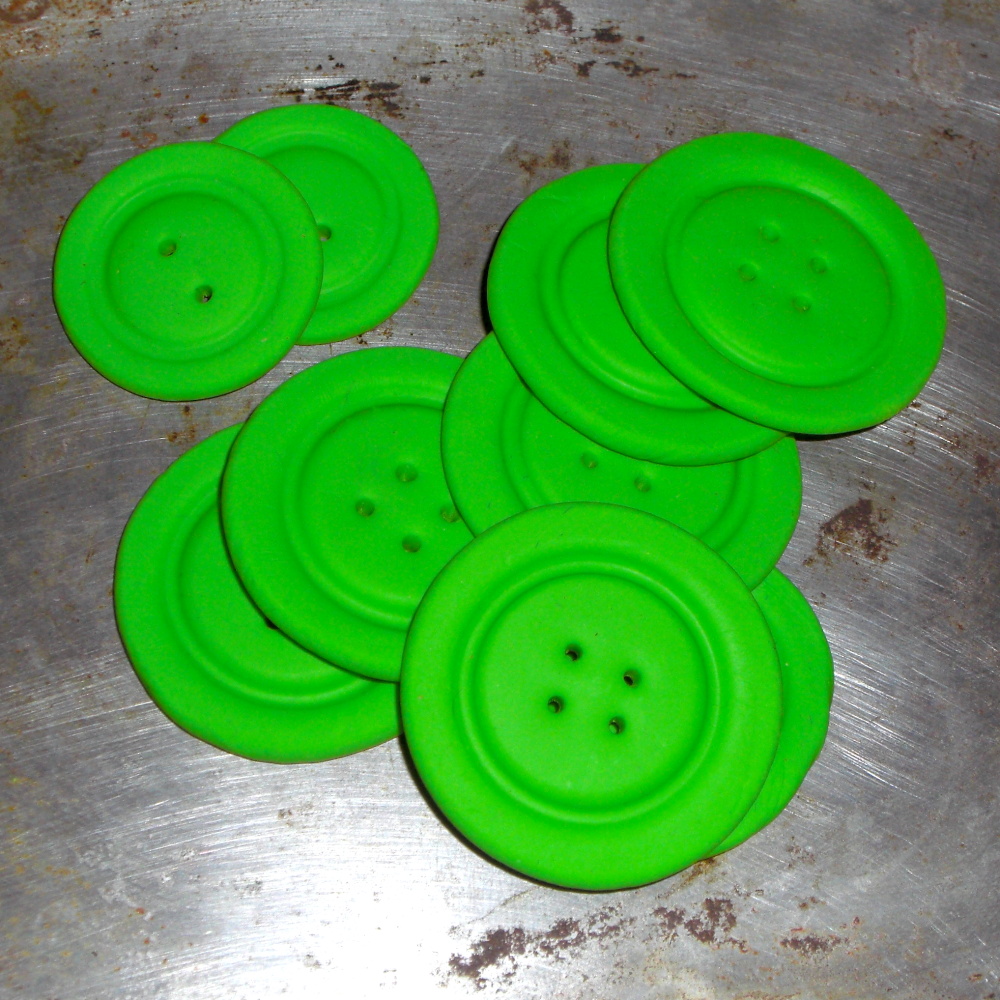
A Fimo purchase off eBay later, I made myself some gloriously green buttons last night.

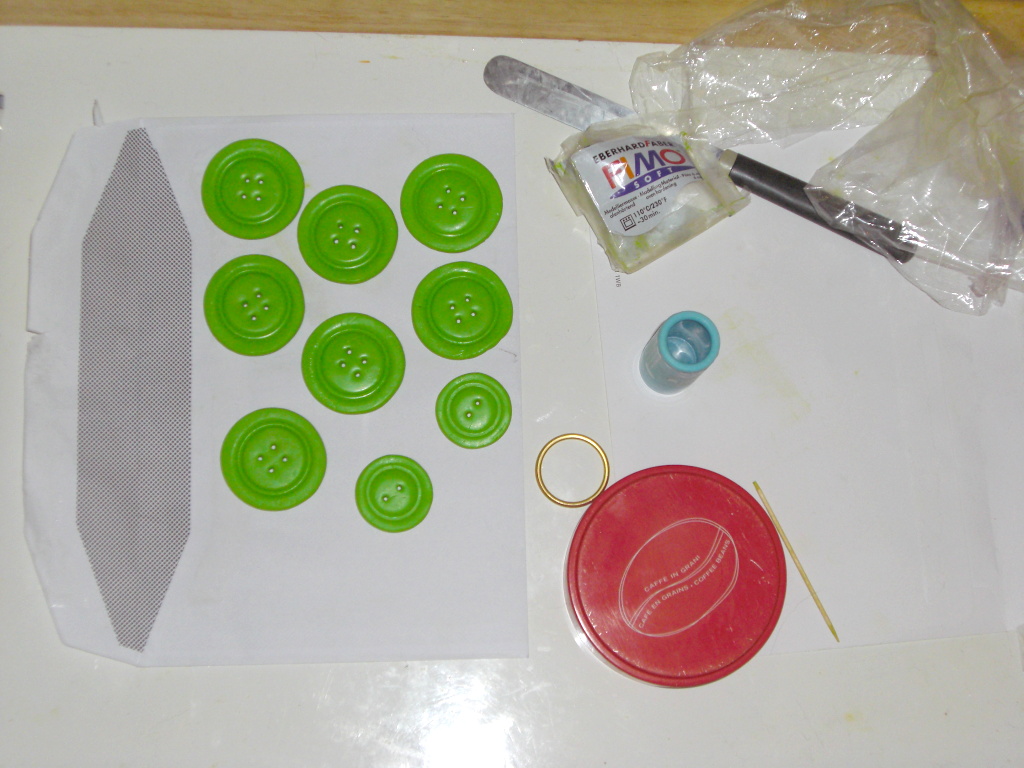
making fimo buttonsI played with a few different shapes/styles but I went with big, flat and simple in the end. I got seven big buttons (the six I need plus a spare) and two little ones out of a 56g block of Fimo. I divided the clay up and rolled it into a ball in my hands to loosen it up then squished it using a coffee can lid, with a layer of cling film inbetween so the clay wouldn’t stick. Then when it was the desired diameter and thickness, I placed a brass curtain ring on the clay, squished with the can lid again, then poked the holes with a cocktail stick. Twenty minutes in the oven later, my buttons were ready to rock and roll.

They’re not perfect but they’ll neither am I, so they’ll do :)

(Click for bigger pictures.)

* as I raved about on Things To Do Today, the Beach House Cafe there is AWESOME. Go! Go! Go!